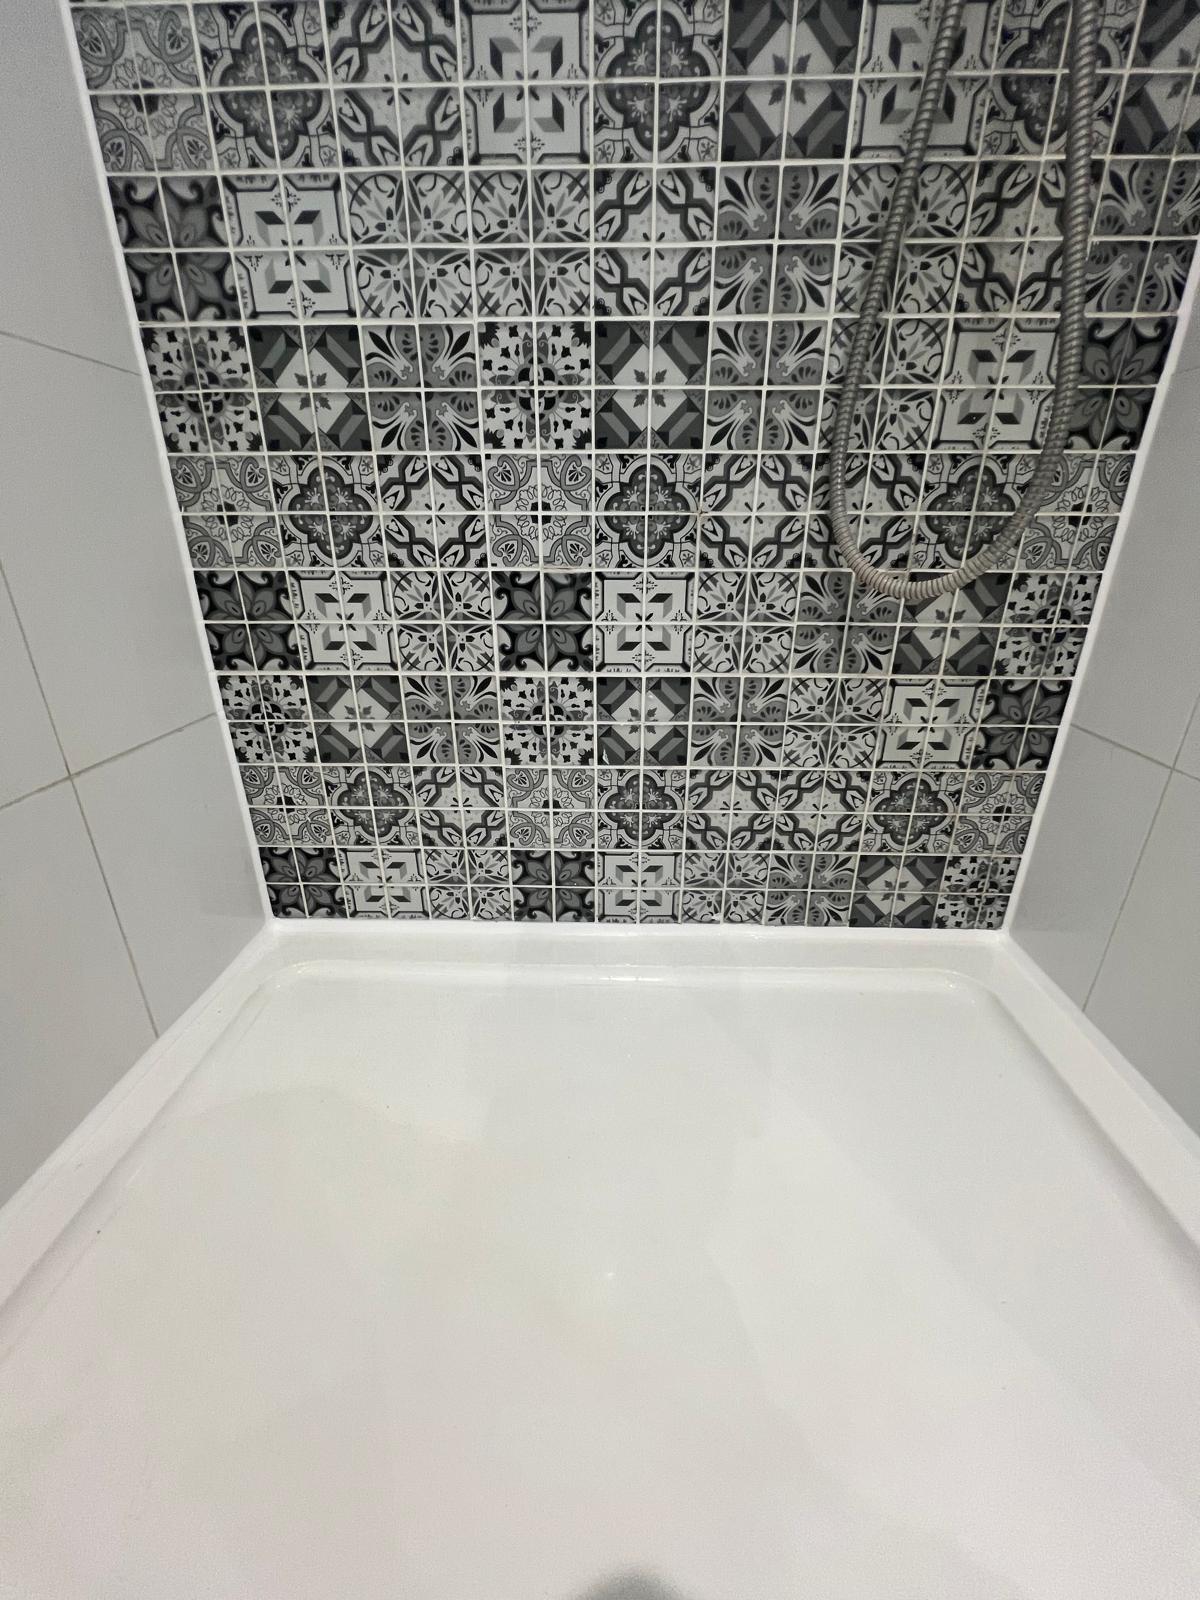
Remedial tray strip-out, substrate dry-out & watertight perimeter seal
Quick Trade Answer
Pour a bucket of water straight down the shower plughole without wetting the walls. If nothing drips below, the waste pipe is fine and water is almost certainly escaping through split silicone, a corner gap, or an unsealed shower screen channel.
Step 1: The 2-minute bucket test (waste vs. perimeter)
Before cutting into plasterboard, isolate the drain from the enclosure walls:
- Keep the walls and tray edges completely dry and pour a full bucket of water slowly straight into the plughole
- Wait 10 minutes and check the ceiling below: if it drips, you likely have a loose waste trap or pipe fitting needing a plumber
- If it stays dry, spray the shower head along the bottom tray bead, vertical tile corners, and screen base — a drip then points directly to failed sealant or grout
Step 2: Check for tray flex and screen channel leaks
Stand firmly in the centre of the shower tray and watch the gap between the tray lip and the bottom row of tiles. If the tray visibly drops by more than 1 to 2 millimetres under your weight, the tray legs or timber floor underneath may need re-supporting before new silicone can hold long term.
Also check the outside edge of the aluminium shower screen upright: water often travels inside the metal channel and escapes onto the bathroom floor or down the wall void if only the inside was sealed, or if the wrong edge was sealed and trapped water inside the frame.
Step 3: Fixing the seal properly
Once the substrate is dry and any loose tiles or tray movement are sorted, a full mechanical strip-out, solvent degrease, and fresh high-modulus sanitary silicone seal stops the water tracking behind the tray for good.